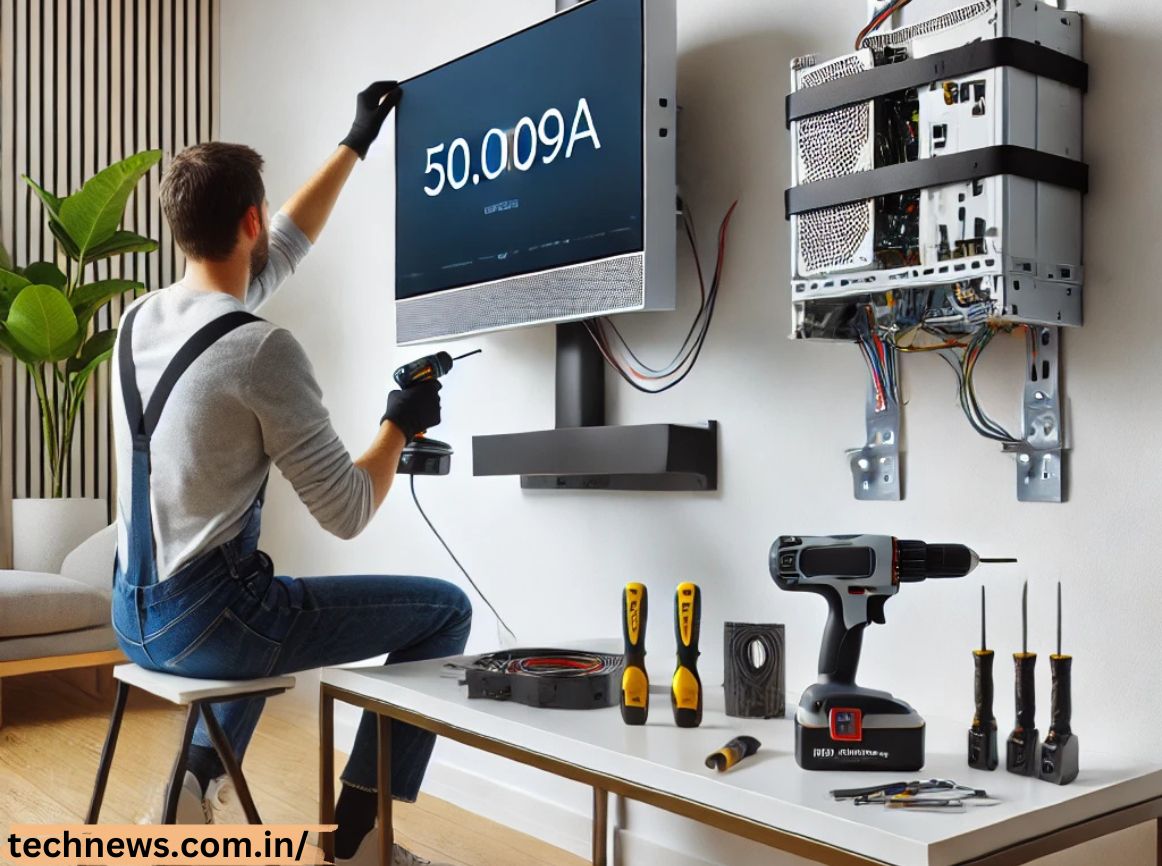
Installing the 50.0009a installation instructions system can be a technical and detailed process. However, by following the instructions step-by-step, you will ensure a successful setup with minimal complications. Whether you’re a professional installer or a DIY enthusiast, this guide provides an in-depth explanation to ensure the installation is executed properly. Below are the 50.0009a installation instructions, complete with essential details to help you complete the task efficiently.
Tools and Materials Needed for the 50.0009a Installation
Before beginning the installation of the 50.0009a installation instructions system, it is crucial to gather all the necessary tools and materials. Proper preparation will ensure a smoother and faster installation process. Below is a list of the essential tools and materials:
- Screwdrivers (Flathead and Phillips)
- Wire Strippers
- Pliers
- Drill with assorted bits
- Mounting Brackets
- Cabling (as required for your setup)
- Fasteners (screws, bolts, etc.)
- Power Source (with appropriate voltage for the 50.0009a system)
Step 1: Preparing the Installation Site
The first step in installing the 50.0009a installation instructions is to prepare the site where the device will be installed. Here’s what you need to consider:
- Location Selection: Choose an appropriate location for the 50.0009a system. Ensure it is well-ventilated and free from direct exposure to elements such as water or excessive heat.
- Power Supply Proximity: Make sure the site is near a power source that matches the required voltage for the system. If no outlet is available, plan to install one nearby.
- Mounting Surface: Inspect the surface where the system will be mounted. It should be sturdy enough to hold the weight of the device and allow for secure installation.
Step 2: Unboxing and Inspecting Components
Once the installation site is ready, the next step involves unboxing and verifying the contents of the 50.0009a installation instructions package. Here’s how to proceed:
- Unpack All Components: Carefully unbox the system and all included components. Be sure not to discard any packaging until the installation is complete.
- Check for Missing Parts: Cross-reference the parts in the box with the provided list. Ensure that all necessary cables, fasteners, and accessories are included.
- Inspect for Damage: Look for any signs of damage to the system or components that may have occurred during shipping. If any parts appear defective, contact the manufacturer immediately.
Step 3: Mounting the 50.0009a System
The 50.0009a installation instructions system must be securely mounted to function properly. Follow these steps for a successful installation:
- Mark the Mounting Points: Using the system’s mounting bracket as a template, mark the points where the screws will go. Be sure the system is level.
- Drill Holes: Use an appropriate drill bit to create holes for the mounting screws at the marked points.
- Attach the Mounting Brackets: Secure the mounting brackets to the surface using the provided screws. Ensure they are tightly fixed.
- Mount the 50.0009a System: Once the brackets are secure, align the system and attach it to the brackets. Double-check to ensure it is firmly in place.
Step 4: Wiring the 50.0009a System
Wiring is a critical step in the installation of the 50.0009a installation instructions system. Here’s how to properly wire it for optimal functionality:
- Turn Off the Power: Before connecting any wires, ensure the power supply is switched off to avoid electrical shock.
- Strip the Wires: Using wire strippers, remove about half an inch of insulation from the ends of the wires.
- Connect Power Cables: Connect the appropriate power cables to the designated terminals on the system. Make sure the connections are secure and free from loose ends.
- Ground the System: Grounding is crucial to avoid electrical interference. Connect the grounding wire to an appropriate grounding point.
- Testing the Connections: After wiring, double-check all connections to ensure there are no loose or incorrect connections.
Step 5: Powering Up and Configuring the System
With the system securely mounted and properly wired, the next step is to power up the system and proceed with the initial configuration.
- Turn On the Power: Restore power to the system by switching on the power supply. The system should now be receiving electricity.
- Run a Preliminary Check: Observe the system for any signs of malfunction, such as strange noises, overheating, or failure to power up.
- Configure the System Settings: Follow the user manual to configure the system’s basic settings. This might involve setting the time, adjusting power modes, or customizing other settings based on your specific requirements.
Step 6: Connecting to External Devices
Depending on your use case, you may need to connect the 50.0009a installation instructions system to other external devices such as computers, sensors, or network systems. Follow these guidelines:
- Identify Connection Ports: Locate the appropriate connection ports on the 50.0009a system.
- Attach the Necessary Cables: Connect the required cables to the external devices. Ensure the cables are firmly plugged in.
- Configure Network Settings: If the system requires internet connectivity, follow the setup instructions to configure network settings. This may involve setting up Wi-Fi or Ethernet connections.
- Test Device Connectivity: After connecting the external devices, ensure they are communicating with the 50.0009a installation instructions system correctly. Run tests to verify data is being transmitted as expected.
Step 7: Final Testing and Troubleshooting
After completing the installation, perform a series of final checks to ensure everything is functioning as intended.
- Run Full System Tests: Test each feature of the 50.0009a installation instructions system to confirm it is operating properly.
- Check for Errors: If any errors occur during testing, consult the troubleshooting section of the user manual or contact technical support for assistance.
- Adjust Settings as Needed: Based on the initial tests, adjust the system settings to optimize performance.
Step 8: Maintenance and Regular Checks
To maintain the system’s longevity, periodic maintenance is necessary.
- Clean the System: Dust and dirt can interfere with the system’s functionality. Clean the surface regularly.
- Inspect for Wear: Periodically check for signs of wear or damage, particularly in the wiring and mounting areas.
- Update Software: If applicable, ensure the system’s software is kept up-to-date to avoid potential security risks and to benefit from the latest features.